
Our youngest daughter turned seven last
Sunday. Yes, I know, right? Where did the time go?
As we’ve now got the eldest at university
and all the expenses that go with that (you would NOT believe the expenses!) as well as driving lessons for her (she’s failed her test a few times, the poor thing’s
confidence is totally in the ground) and all of the
other things, money is even more tight this year, so we didn’t have a party for
her. The word “party” being used here as in meaning a formal
setup with balloons, themes, etc. etc.
So we invited
her two cousins that are close to her age and two school friends to join us at
a local tea-garden. Alexia loves it
there; there are mechanical whatsits to ride on, baby animals to pet and feed,
tons of different jungle gyms to climb around in and best of all, a REAL pony
to ride.
I felt bad that it wasn’t a
themed, formal set-up, so I decided to make some little handbags for the 5
girls and kept it a surprise for Alexia.
There is a pile of fabric in my cupboard, I have a few zips, there are
some ribbons, so, why not?
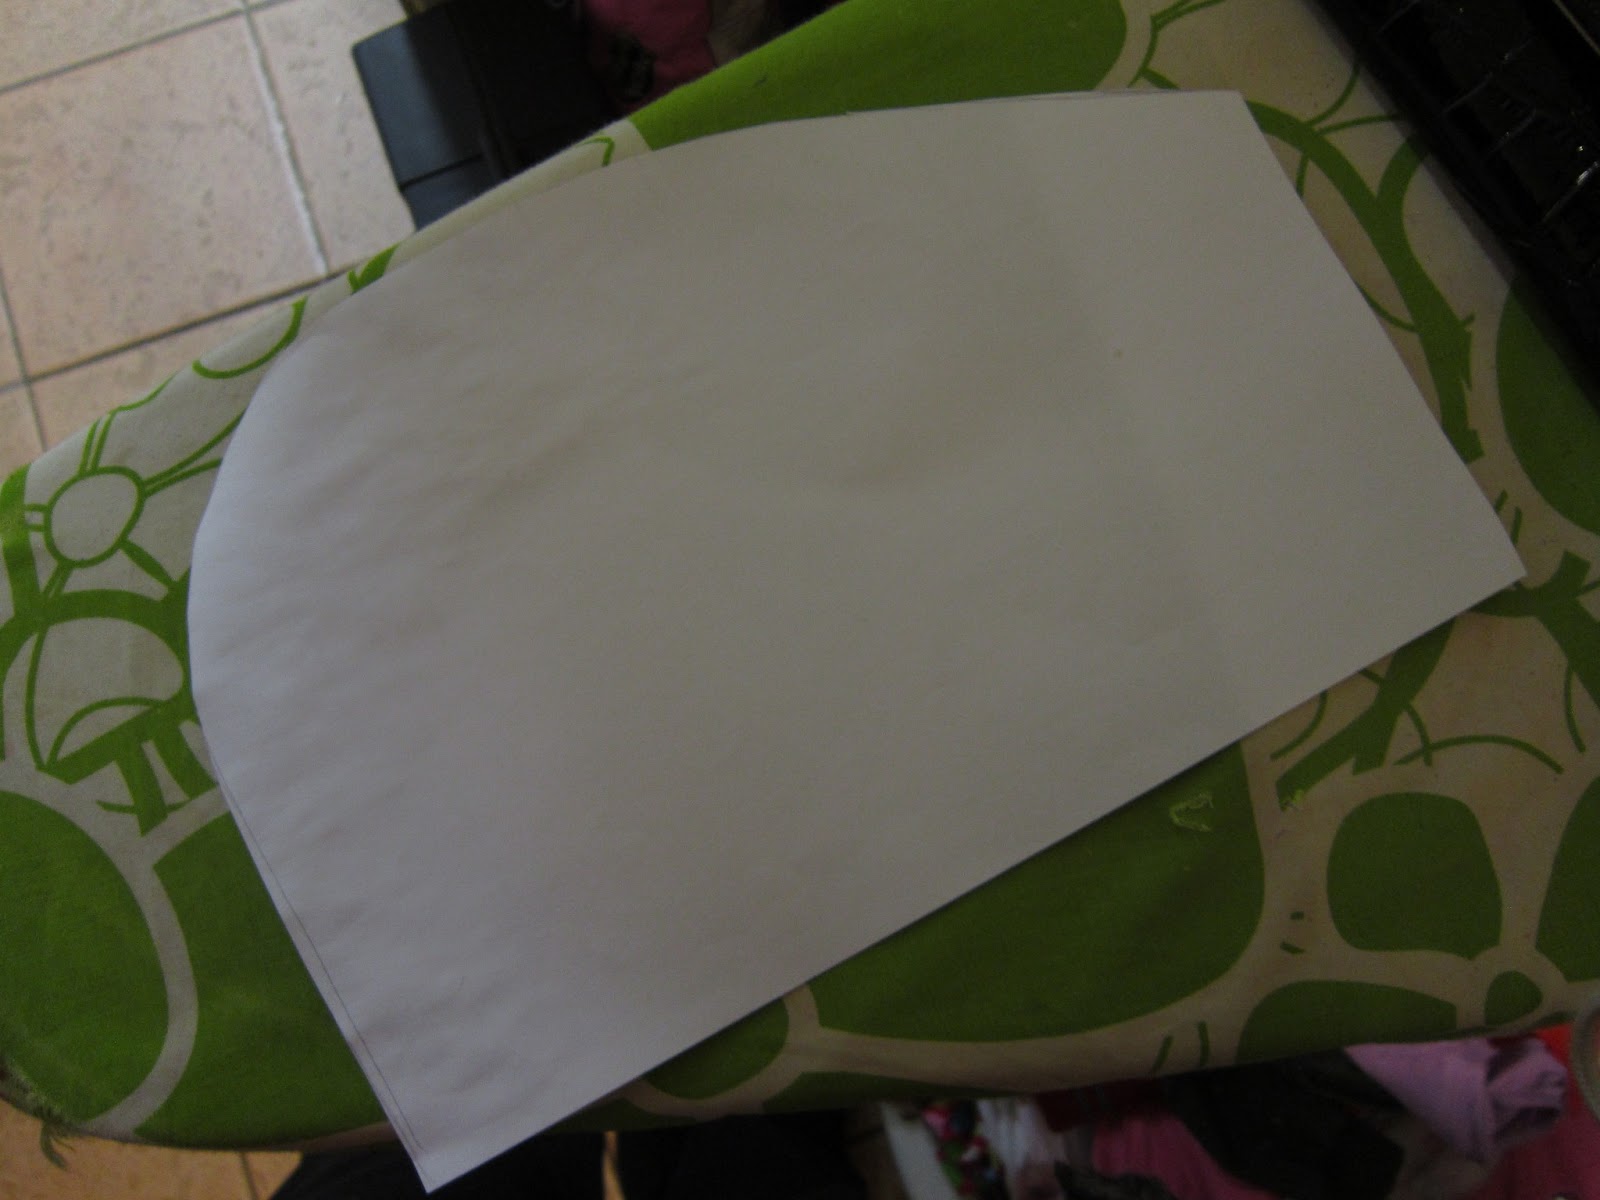
I just drew a rough pattern keeping in mind
the length of the zipper, cut fabric and iron-on batting, made a ruffle for
each from a “jelly-roll” (it’s
not a real jelly roll, since it’s not Moda fabric, which I cannot afford, just
some cut-up cotton prints I got at the local fabric store) I was planning to do something else with and pinned and sewed.

I used the basic method of a zippered pouch,
nothing spectacular, just added the ribbon handles between the zipper and outer
fabric. There are tons of tutorials on
the web for basic zipper pouches, all of them basically the same. Actually, I thought I was oh
so very clever when I figured out the same method, and
deeply disappointed in myself when (years later) I came across the exact same
method used by, well, everybody. I tend
to go to these tutorials anyway, hoping someone has come up with an even more
spectacularly easy method. Nope, this
is as easy as it gets.
Now, I have to confess here that I’ve never
been able to figure out how to use the iron-on jewels. I was too scared I’d totally mess up my
iron, and I also thought it must be quite complicated and time-consuming. You’d have to arrange the little thingies
upside down and then place your fabric v
e r y carefully over so as to
not disturb them and iron on the back. Right? Makes sense, right?
No? Just me? Well, a friend
said she saw someone do it, and she was ironing right on top of the
jewels. Huh. I got a packet and experimented.
Could you believe! You just
place the little suckers in whatever order you want on the fabric you want and
iron! And they stick like crazy! I did use a pressing cloth to protect my
iron.
So, I used these tiny little jewels to make
the first letter of each girl’s name on the front of the bag.

I put in a little gold painted box with
sweety necklaces, a toy ring and those chocolates wrapped in coloured foil –
jewels, see?

I got some cheapy feather
boas, a packet of Chease Naks,
toy bracelets, foil (shiny) stickers and a few
more sweets and put all of that inside the bags. The girls loved it!

I think they came out real cute, and Alexia
loves hers, in fact it’s been going to school with her, carrying her
after-school clothes in.
No comments:
Post a Comment
Please do leave a comment, I love to hear your views!